The beginning…
It was Sunday morning, July 5th, and we had anchored at Quarry Bay on Stockton Island. We were preparing to head back to Roys Point, the end of another weekend sailing. It was one of those perfect mid-summer mornings: sunshine, cool, and absolutely no wind. The lake was still and as smooth as glass. So we started the engine to drive back to the marina. After warming her up for a few minutes, we put her in gear to retrieve the anchor. The engine quits. We tried to restart her several times, but she simply wouldn’t. With no wind, we weren’t sailing back. We were stuck.
Tucker saves the day!
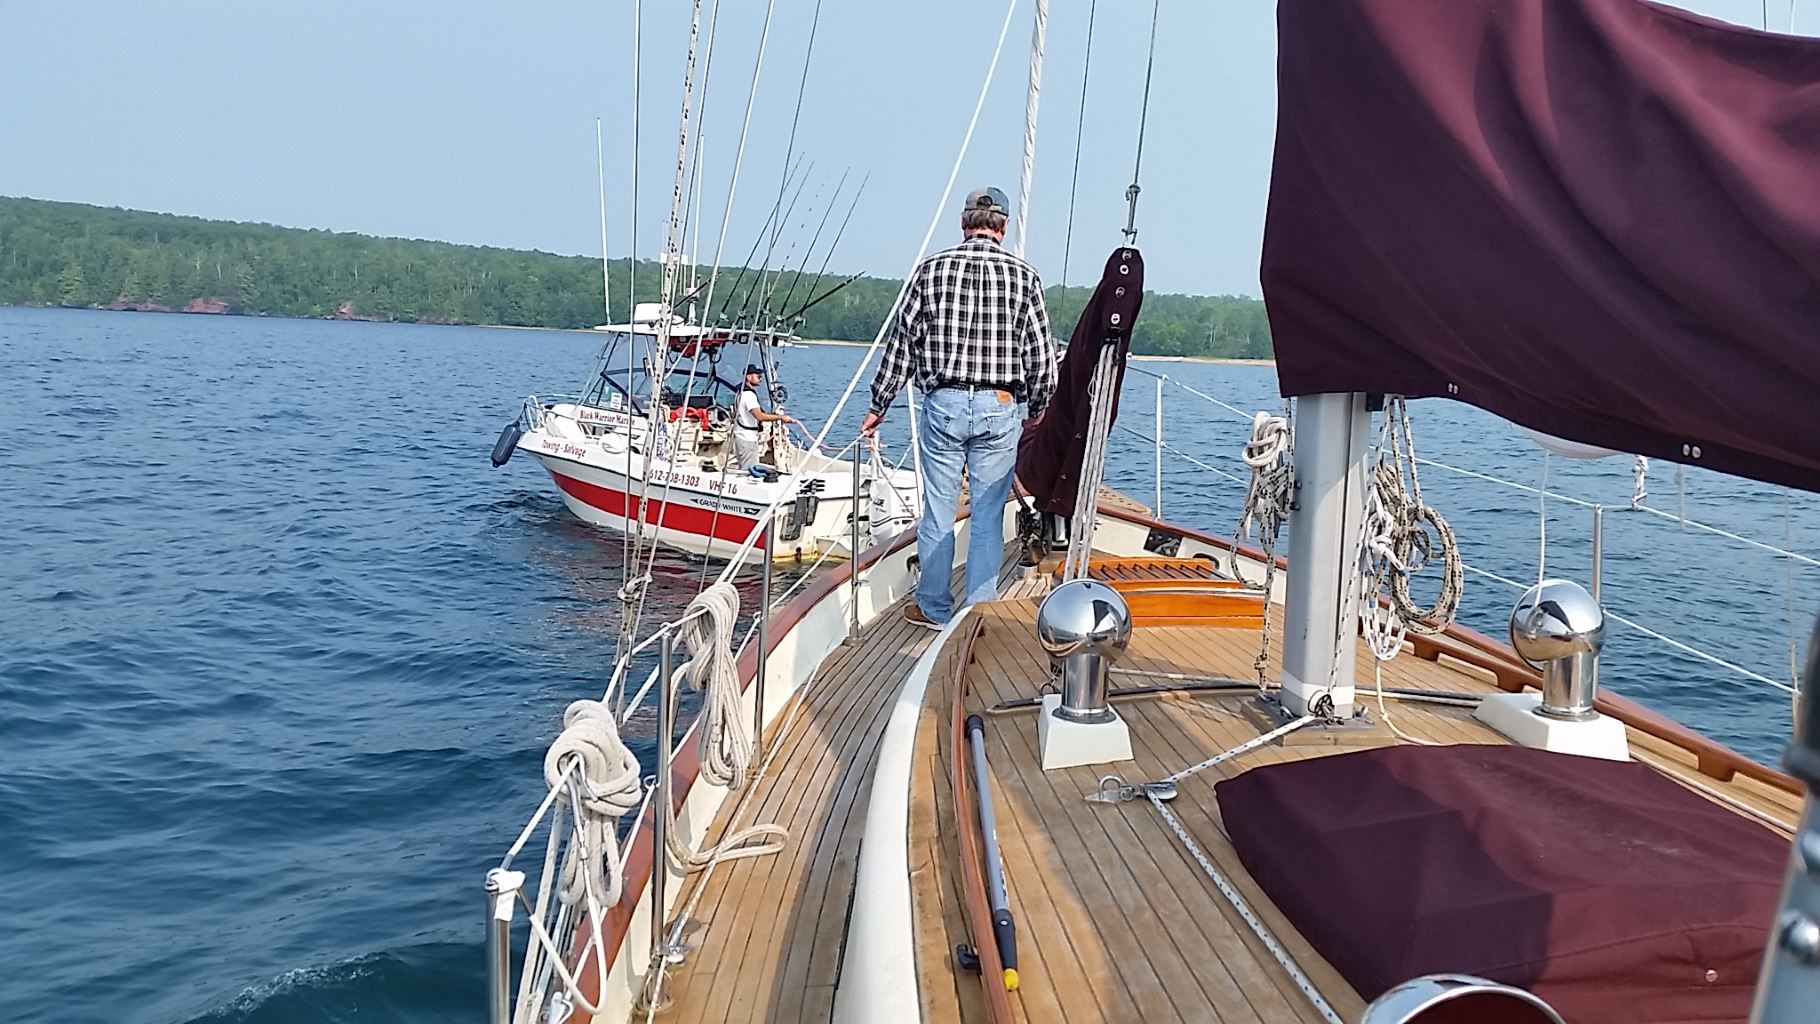
Luckily we were Towboat U.S. members and Black Warrior Marine, the local towing service, operated right from our marina! We radioed them: nothing. We radioed the marina: nothing. After trying both several times, we figured they were either out of range, or nobody was monitoring. What now? Our cell phones! Quarry Bay is one of only a couple places in the Apostle Islands with cell coverage. We Googled Black Warrior and made a phone call! Tucker, the owner, answered right away and we explained the situation. He said he’d be there within a half hour. He showed up as promised and also tried starting her. After about a half hour, we finally gave up and he towed us back to Roys Point. (On a side note: by now the wind had picked up to about 10 to 15 knots – go figure!).

Shanti being towed
A few days later, he calls: “I took off the fuel tank inspection cover and guess what? You’re out of diesel!”. What the …??? There was no WAY we could be out of fuel. We topped her off every year, so where did all our fuel go? He explained that the fuel tank air vent was plugged, which caused the pump to stop before the tank was completely full. So each season we used more fuel than we put in, and the math dictates that eventually we would spend a Sunday being towed back from an island. “Oh, and by the way”, he continued, “there’s about 1/2 inch of sediment in your tank, so now would be a good time to clean it! And, while you’re at it, you should consider replacing your fuel lines, too. The’re getting kind of old”. Sure, why not?
Cleaning a diesel fuel tank is not the most exciting job in the world. In fact, it’s not even in the top 1000. It’s dirty, messy, and smelly. We spent the following weekend pumping the fuel and cleaning the debris and sediment from the tank. And on the next weekend we fashioned a new rubber gasket for the inspection cover, ran all new fuel lines, and, just for good measure, changed both primary and secondary fuel filters. We put in 10 or 15 gallons of fuel, and then learned real quick how to bleed a diesel engine (we never had to do it before!). She started! Awesome! Problem solved! Um, no…
The middle…
We sailed the rest of the season with only the fuel we put in earlier, and had no more issues with starting (go figure!). That season, we were hauling Shanti at the Washburn Marina (about 12 nm away), as we had a huge list of projects to complete and they had heated, indoor storage. Before we left Roys Point, we filled the tank to about 40 gallons. On our way to Washburn we had good wind from the beam, and sailed the entire way. For the last mile or two we had 5 to 6 foot waves on the beam, so it became a little rolly!
We pulled into our assigned slip and immediately began decommissioning and unloading (always a sad thing), as Shanti was scheduled for haul-out in a few days. The following day we moved her to the maintenance bay so her mast could be removed. We continued our decommissioning, which included vacuuming the bilge. We opened the floor panel, and were greeted with 1/2 inch of diesel in the bilge! Oh crap! Our tank was leaking! Talk about a sense of alarm and dismay! (Luckily, there wasn’t enough to engage the bilge pump or we would have had a REAL serious problem!) With that much diesel in the bilge, why hadn’t we noticed this before? Was this a new leak, and if so, how did it get so bad so quick? We informed the marina, shut off the bilge pump, and left for home disheartened, discouraged, and questioning whether we should keep Shanti.
The decisions…
We seriously considered selling Shanti, but couldn’t make that decision until we knew the extent of the problem and the cost to fix it. First up: assess the problem. The marina pumped our (nicely cleaned and recently filled) tank and we tried to find the leak. We felt along the top edge, and found one corner wet with diesel, right where the ice box drained into the bilge. The tank was black iron, and years of drips and moisture caused it to rust through. It also explained why it appeared so suddenly: the tank probably had 15 or 20 gallons when we bought her, and with a total capacity of 55 gallons, fuel never reached that top corner, even on the greatest of heel. But once we filled it with 40 gallons, THEN there was enough to reach the corner, especially when heeled (or in wavy conditions from the beam)!
The tank had to be replaced or repaired. If you ever saw Shanti’s cabin, you would see that this tank was not coming out without destroying most of the boat. The tank itself was 70 inches long, 30 inches wide, 8 inches deep, and an angled bottom that fit in the bilge area. It was under the floor, which was constructed of several beam-to-beam stringers, a subfloor, and teak & holly planks. On top of the floor was the ice box, two settees, dining table, and the chart table, all made of custom teak joinery. Removing the tank would have been a nightmare of cabinet and settee disassembly, floor removal, cutting stringers, etc… Finding a suitable replacement was also an issue, due to it’s irregular size and shape. Repairing it meant one of two things: removing it and welding new plates or sealing it from the inside. Since it wasn’t coming out, welding wasn’t an option. We quickly ruled out sealing it from the inside, too. There was at least one, and more likely two, baffles on the inside of the tank, dividing it into 3 chambers. Only the first chamber could be accessed, and we couldn’t assess the condition of the other two. So we weren’t about to patch only what we could see, only to find another leak, somewhere else, later.
The solution…
So now what? We couldn’t replace it, and we couldn’t repair it! Ever watch the TV show Hee-Haw? “Gloom, despair, and agony on me. Deep, dark depression, excessive misery…”? That’s how we both felt right about then. The marina gave us one last option: a fuel bladder. They would insert a rubber bladder inside of the tank, and we would use that for fuel. It seemed like our only option, but we had two concerns. First, only about 1/3rd of the tank was usable due to the baffles. That meant our tank would carry (at most) 15 gallons of fuel, without resorting to carrying a bunch of jerry-cans. Second, we couldn’t find a suitably sized bladder for that cavity, making the capacity even less!

Our new ATL fuel bladder
We discussed it with the marina, and they agreed the ATL bladder was a really good choice. It was still going to require a lot of work and a considerable amount of cash, but it really was our best option. Since most of the work fell outside our skillset and comfort level, we asked the marina for help. We measured and sketched our tank, sent the diagram to ATL, and ordered our new, custom sized bladder. Three weeks later, we had a new tank. (Side note: Another really cool thing about ATL tanks is that the come filled with special foam blocks. These give structure to the bladder, keeping them always expanded to full size, and they only take 2% of the total capacity!)
The work…

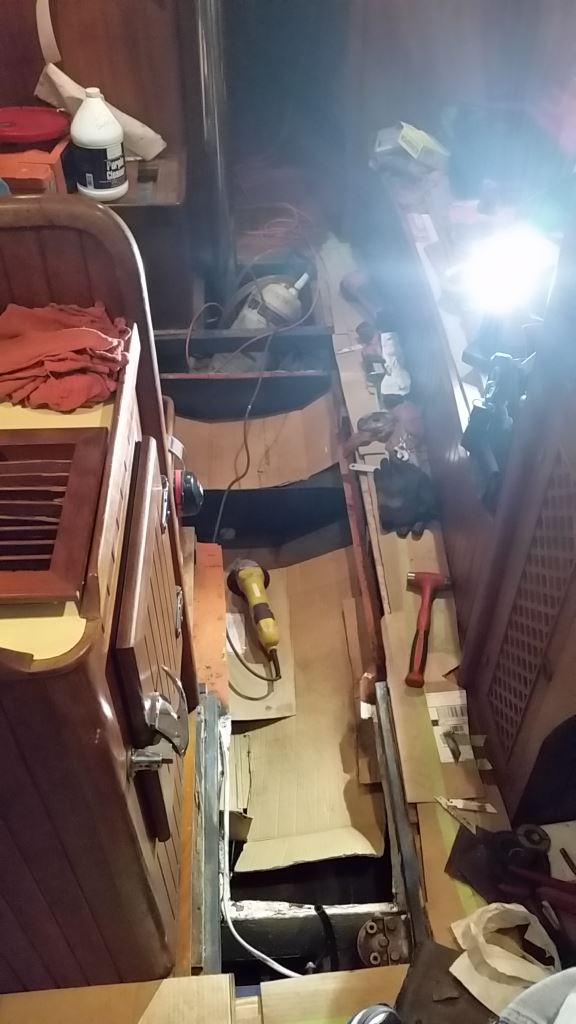
Top of the fuel tank
Kevin and Tom at the marina did most of the work. First, they removed our dinette table. Next, they carefully removed and labelled every floorboard and every piece of holly joinery directly above the tank. Then they cut out the subfloor, opened the top of the fuel tank, removed both baffles, and smoothed all the rough edges. Finally, they lined the inside of the existing fuel tank (now a bladder container) with a nitrile rubber sheet to decrease chafing between the bladder and tank.
They then installed the new bladder and placed a layer of rubber sheeting on top. They put the tank cover back on, sistered in new stringers, and laid down the subfloor. The teak and holly flooring was re-installed and completely refinished. Finally, they hooked up the supply, return, fill and vent lines and voila! A new fuel tank! We figured we only lost about 5 gallons total between the foam blocks and the bladder being slightly smaller. And the results were amazing! Kevin and Tom need a medal for the work they performed and the way it turned out!
Pics and a video of the fuel tank work…
Fuel tank with 1 baffle remaining

Grinding away at the fuel tank
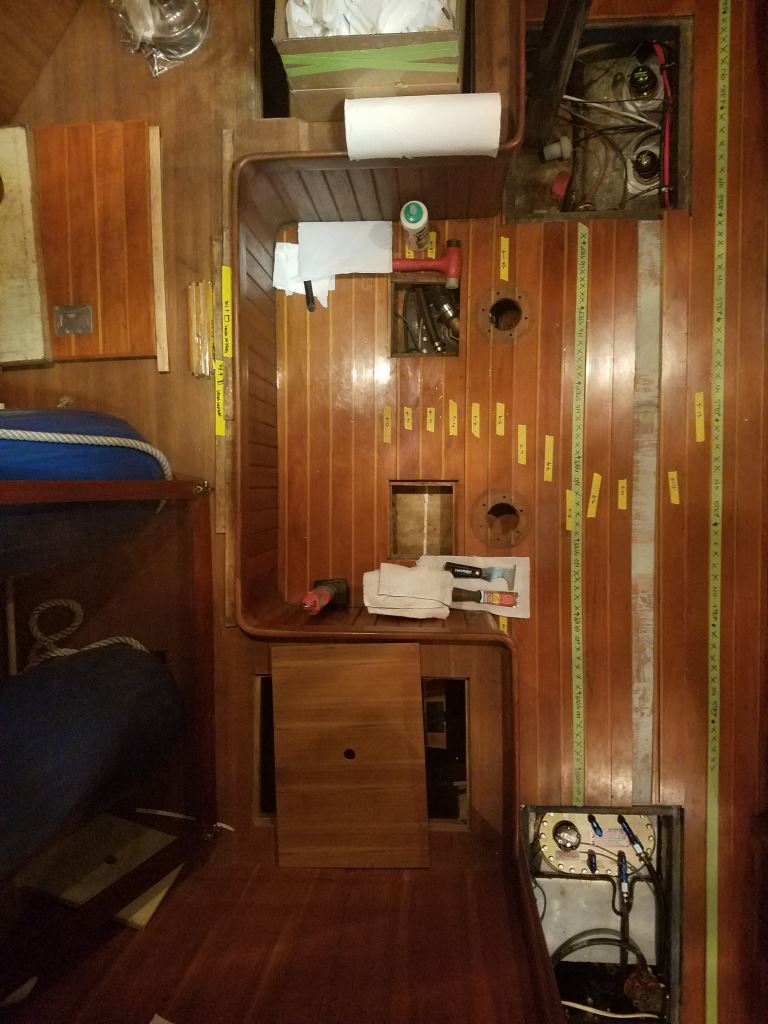
Reinstalling the floor boards
Last side note: we are completing the he final piece of the puzzle right now. The fuel sender and gauge that we ordered with the fuel tank never worked properly, and we never could figure out why. So now we are installing a Maretron TLM-100. This is an NMEA-2000 ultrasonic tank sender that interfaces with the rest of our electronics network. Once installed and configured, it will show us our current fuel level right on our chart plotter and instrument display.