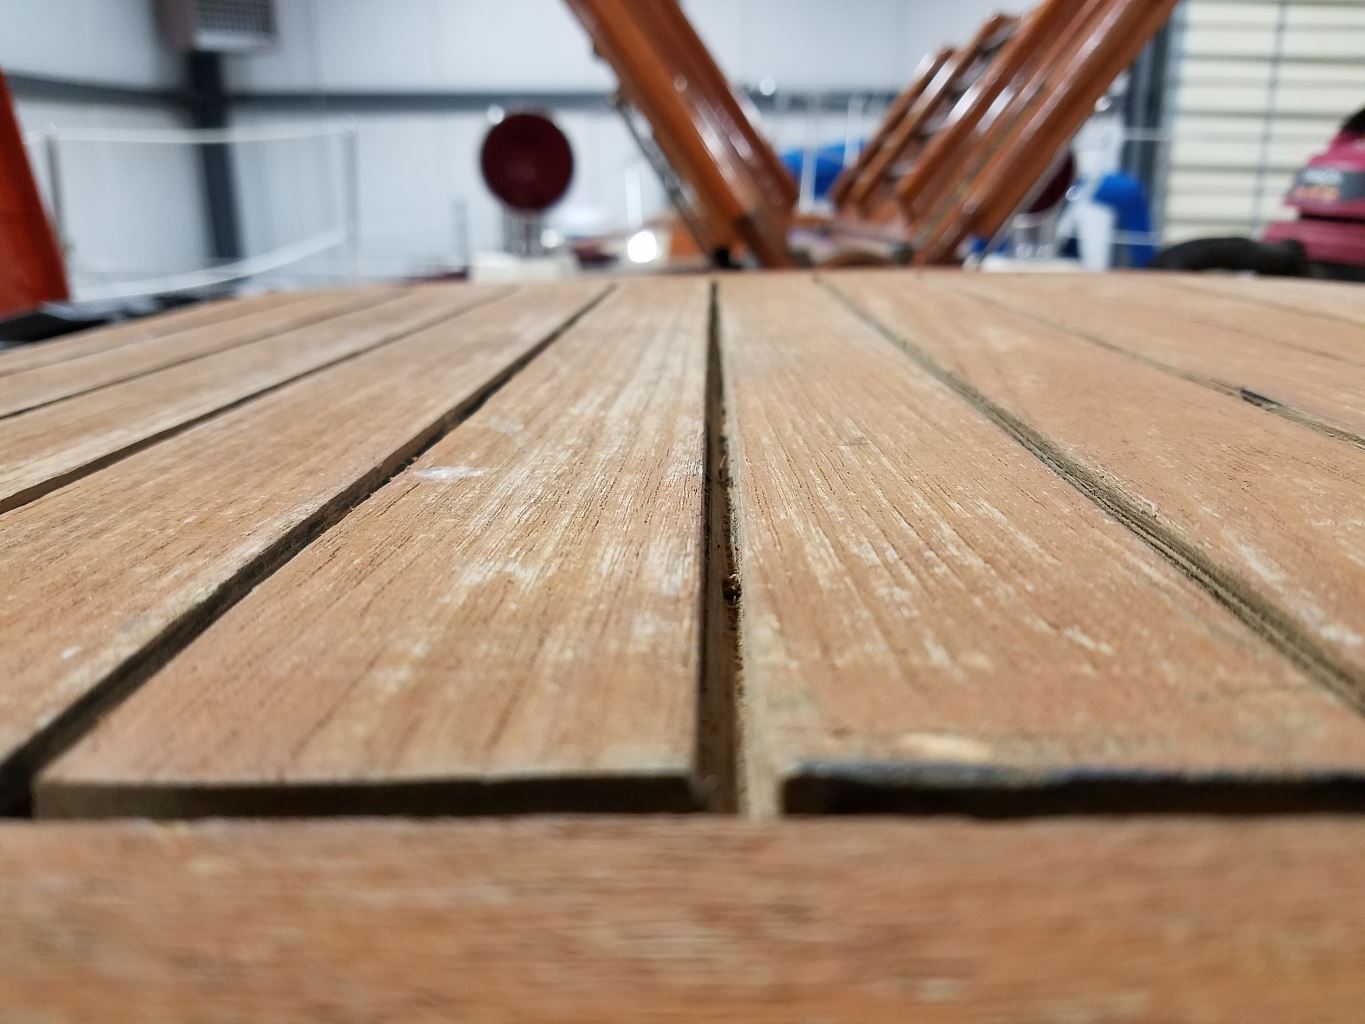
We knew when we bought Shanti that her deck and cabin top would ultimately need some attention. They were laid with teak planks, with each plank separated and sealed with a line of caulk. The caulk was 30 years old, and the seams were shrinking in many places. We decided it was time to re-caulk. This turned out to be one of the most time-consuming, tedious, messy, and dirty projects we have ever done on Shanti.
There are many web pages and blog postings about the best way to do this job. After doing it, here’s our short and sweet method: “Sell your boat and buy one with fiberglass decks”. No, really, just do it. Unless you only have about 10 square feet of deck, this is one mother of a job. Shanti is 35 feet long, and 12 feet at the beam. Her planks are about 2 inches wide, run from bow to stern, across the cabin top, and inside the cockpit area. All told, there’s well over 1000 linear feet of deck seams. And they all needed re-caulking.
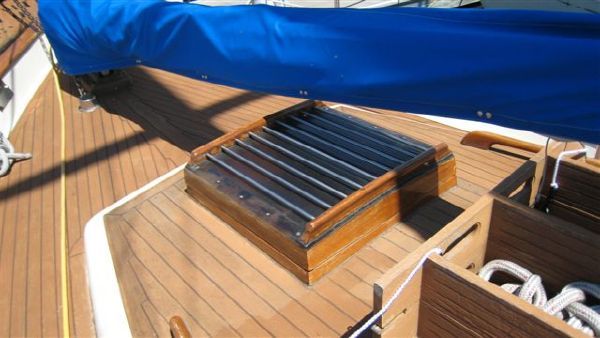
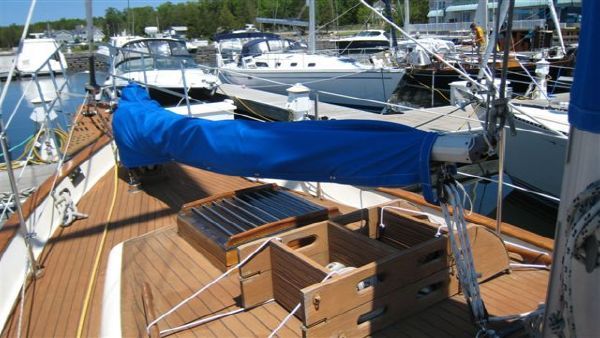
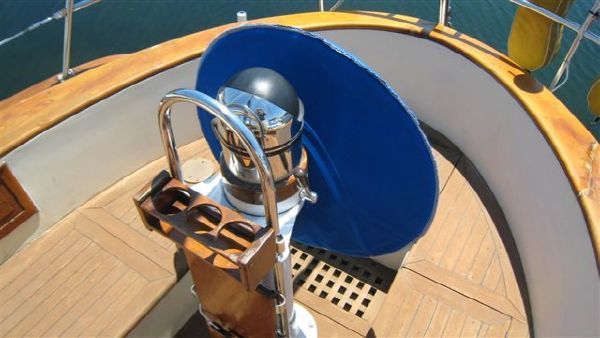
Here’s a few (early) pics of Shanti and how much deck we ultimately had to do…


Our first attempt
We found several recommended methods of removing the caulk. Some said the best option was a reefing tool (an “L” shaped tool with a sharpened tip that you drag along the seams to dig out the old caulk). Others said to bend and sharpen the tip of a screwdriver and use it in the same manner. We read about bending the handle of a file or rasp to use as a digging tool. A few others said to score both edges of the seams with a razor knife and then use a reefing tool (or screwdriver/file) to dig out the old caulk. We started with the reefing tool. After about 2 linear feet, we realized what we were up against. We decided that suicide would be preferential to this kind of torture and gave up on any other manual method of removal.
The ultimate tool

Fein Multimaster (YES!)
We also saw some power options. The first was to use a standard router. While this looked great on YouTube videos, all the examples were done on wide, flat, unobstructed pieces of deck. But Shanti is a real-life boat, with a standard complement of deck cleats, chainplates, windlasses, masts, dorades, hatch covers, boom crutches, and other assorted things that would get in the way of actually using a router. We finally stumbled across a post on a cruising blog where a guy said (paraphrasing) “Buy a Fein Multimaster, a set of teak deck blades, and go to town!” OK!
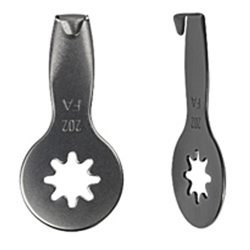
Fein Teak Blades
We bought a Fein Multimaster (the 250Q Marine Top version), and one each of the 3 different sized blades available (they are numbered 200, 201, and 202 for gaps of 3mm, 4mm and 5mm, respectively – just in case you were wondering). While it was still a LOT of work, and took umpteen hours (which is just slightly more than a gazillion), it was MUCH better than doing it by hand. For our seams the 201 worked best, although we ultimately had to purchase about 20 more of the things. Between that and the rasp tool (we also used several of those), we were able to get all of the old caulk out of the seams.
The process
Seams with caulk removed
The basic procedure was pretty straightforward: dig out the old caulk, clean with acetone, tape the edges of seams, apply new caulk, remove the tape, allow to cure, and sand. No problem – we should finish in no time! We started the project at Roys Point one fall after haul-out. Because of weather, we had about 2 good weekends between haul-out and shrink-wrap. That first year we finished about 9 square feet. We figured we had about 350 square feet to finish, so that was, what, 39 years to finish the whole deck? We didn’t realize how time consuming (and messy) this project was going to be.
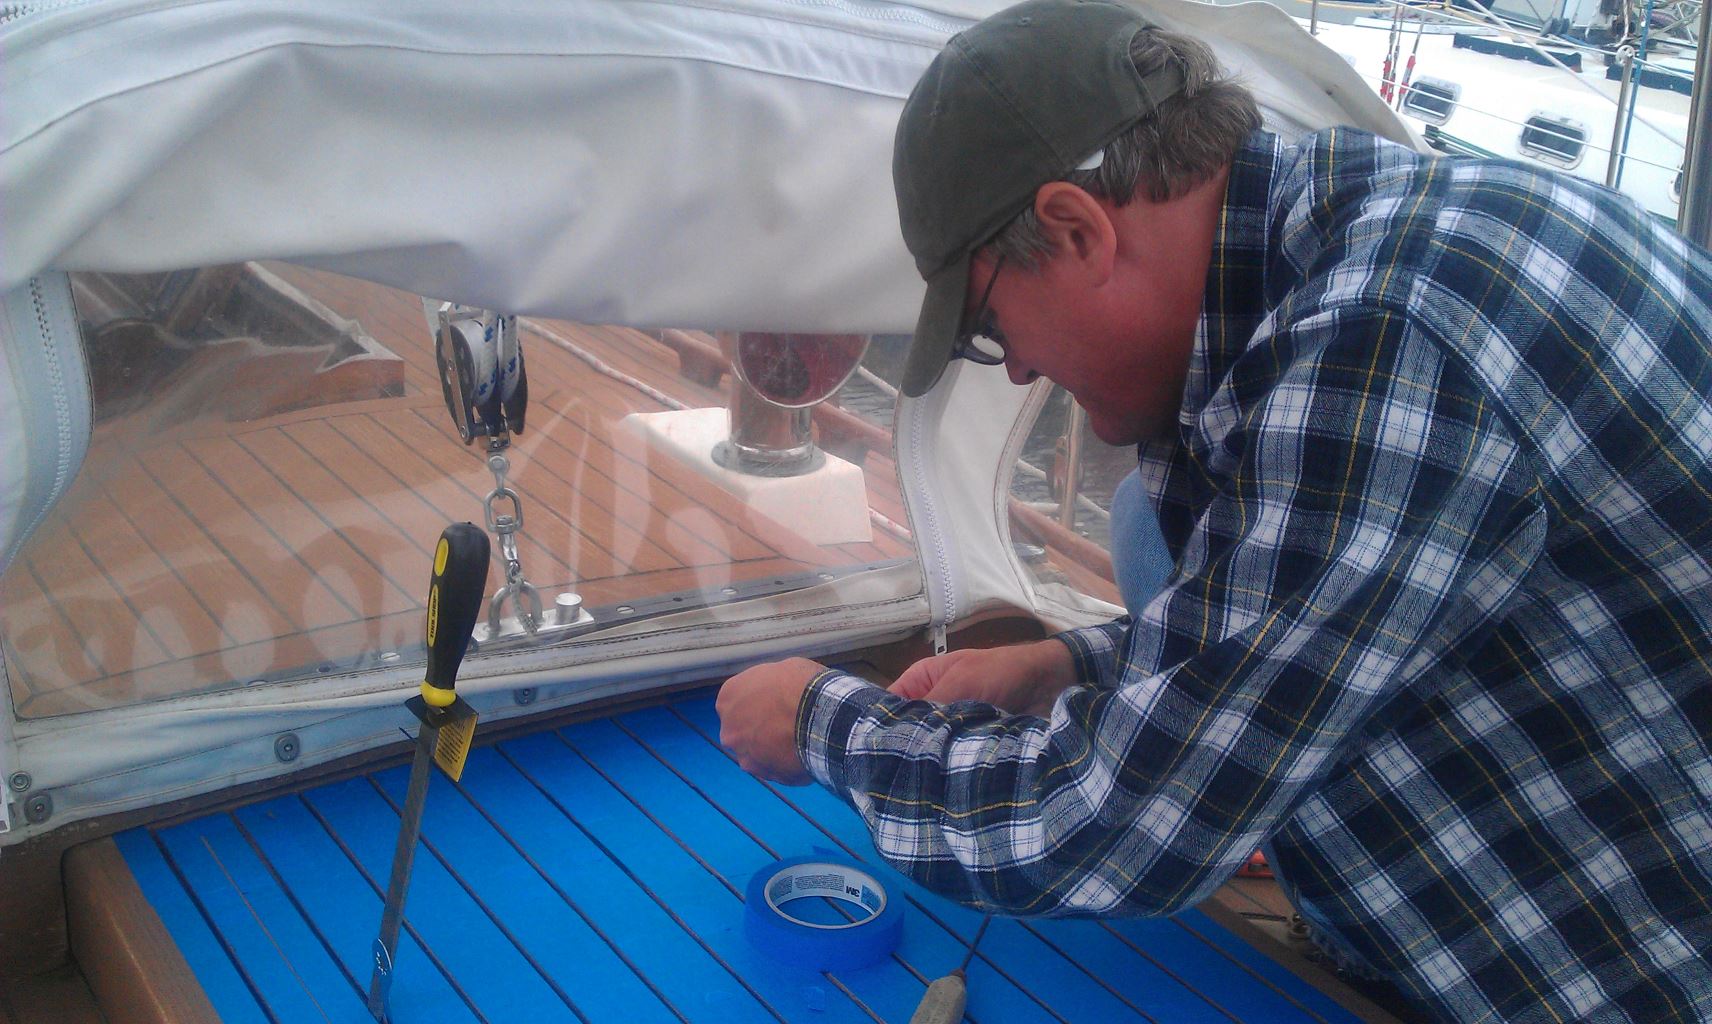
Taping the seams
The Fein was a godsend at removing the old caulk. It came out in long strips and small chunks, and the rasp tool really ripped the remainder from the edges and bottom of the seam. But it was still slow going. If we moved too fast, and the blade turned ever so slightly, we would split the edge of the deck plank (or take a big gouge out of it). Even with as slow as we went, we ended up with several splits and gouges. Adds character, though! Once we removed the caulk, we cleaned the seams with acetone, then taped the edges to prevent getting caulk all over the deck (which still happened, anyway). Of course, our deck had all kinds of turns, angles, and edges, which required a lot of custom cutting of the tape (and about 50 rolls of it!).

Seams caulked, prior to sanding
After taping the seams, we applied the caulk. We used TDS SIS-440. This has to be some of the stickiest and messiest goop in existence. It reminded us of roofing tar, except a tad thicker. No matter how careful we were, it got on everything, and mineral spirits is the only solvent that can remove it. (Do NOT get it under your fingernails or you will not pass a clean hands inspection for several weeks!) We squeezed it into the seams with a caulk gun and allowed it to ooze up a little. Then we scraped off the excess with a putty knife (or finger), and removed the tape. Don’t remove the tape with any amount of wind, though, or you’ll be sorry! We allowed to cure for at least 24 hours and then sanded it!
We are finally done!
The entire deck took us 4 seasons to complete. The process really was that time consuming (but, to be fair, we also worked on numerous other projects simultaneously). Would we ever do it again? No way, nope, nada! Once is enough. Yes, we now have a deck that won’t leak. Yes, it should be good for 20 more years. But the time it took from our lives cannot be returned, our knees and backs will forever hurt (although our chiropractor loves us!), and we finally just got our fingernails clean!
A few more pics of the deck work…


